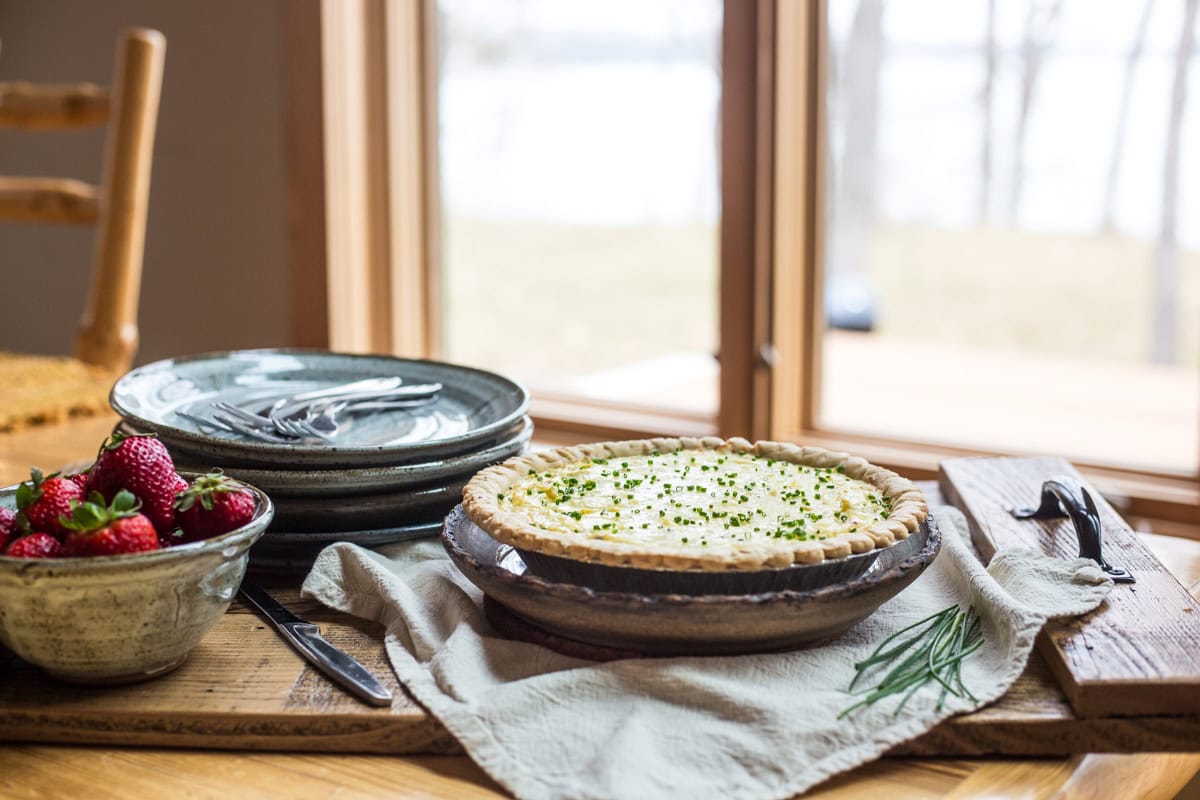
This Artichoke Quiche is incredibly flavorful with a delicate cheesy texture! It bakes in a flaky pie crust and is brunch perfection.
Brunch Is Served
I’m not sure I’ve ever met a person who doesn’t love brunch. What’s not to like? It’s a meal where anything goes, as made evident by this delicious Artichoke Quiche!
This recipe is based on my Swiss Pie, which has been a family favorite for decades, always eliciting compliments and demands for the recipe. When artichokes are added to the mix, well – this dish can only be described as artichoke dip in breakfast form. Are you even ready for this?!

Ingredients
- Pie crust (I will always vouch for homemade pie crust, but a store bought option will do just fine!)
- Olive oil
- Yellow onion
- Garlic
- Eggs
- Sour cream
- Artichoke hearts
- Mozzarella cheese
- Parmesan cheese
- Chives

How To Make Artichoke Quiche
- Preheat oven to 375 degrees.
- Roll pie crust out to fit a 9 inch pie plate. Crimp the crust edge to your liking and poke the crust with a fork. Cover with parchment paper and fill with pie weights (dried beans work great!). Par bake the crust for 10 minutes, remove from the oven and set aside.
- In a large bowl combine all the ingredients. Mix completely to combine. Pour mixture into the par-baked crust, and bake for 25 minutes.
- Allow to sit for 10 minutes before cutting and serving. Garnish with chives.

What To Serve With Artichoke Quiche
To me, the perfect brunch needs to have a little bit of everything: sweet, savory, salty, and sips! Here is what I would serve with this delicious Artichoke Quiche for the perfect Spring brunch:
- Lavender French 75s
- Almond Croissant Buns
- Fresh fruit (strawberries, mango, kiwi, and blueberries would be delicious)
- Spring Salad With Buttermilk Herb Dressing

Tried It? Loved It? Share It!
Use the hashtag #sohappyyoulikedit and tag @sohappyyoulikedit on social media so I can see your creations!
Let’s be friends! Find me on Instagram, Facebook, and Pinterest. Don’t forget to check out my YouTube Channel!
Artichoke Quiche
Equipment
- 1 Pie Plate
Ingredients
- 1 pie crust (store bought or homemade – see recipe notes for my recipe)
- 1 Tbsp olive oil
- 1 yellow onion chopped and sautéed
- 2 cloves garlic minced
- 2 eggs lightly whisked
- 3/4 cup sour cream
- 15 oz can quartered artichoke hearts drained
- 8 oz shredded mozzarella cheese
- 1/2 cup grated parmesan cheese
- Chives, to garnish
Instructions
- Preheat oven to 375 degrees.
- Roll pie crust out to fit a 9 inch pie plate. Crimp the crust edge to your liking and poke the crust with a fork. Cover with parchment paper and fill with pie weights (dried beans work great!). Par bake the crust for 10 minutes, remove from the oven and set aside.
- In a large bowl combine all the ingredients. Mix completely to combine. Pour mixture into the par-baked crust, and bake for 25 minutes.
- Allow to sit for 10 minutes before cutting and serving. Garnish with chives.


The artichoke quiche looks amazing. There are no measurements for the ingredients. How could I possibly make it? How many eggs, how much cheese, sour cream etc? What do you do w the onions and garlic? Use raw? Sautee? Please help
Hi Kathleen! I list the ingredients in the article itself, but the recipe at the end of the page should include all the detail you need! I hope you make this and enjoy it!
Do you recommend using marinated artichokes (oil) or unmarinated artichokes (in water)?
Hi Pete! I would suggest canned artichoke hearts in water – not oil. While you could absolutely try it with marinated artichoke hearts, I think the extra oil would impact the texture, perhaps even separating the cheese (I bet it still would taste great though). I hope you try this and enjoy!
An I use a frozen pie crust?
Yes! Make sure it’s thawed and pre-baked according to the package instructions before filling and baking. Enjoy!